In an attempt to get "match fit" for the Warmaster Tournament at the end of May I set up a solo game. 1500 point armies just lined up and going at it.
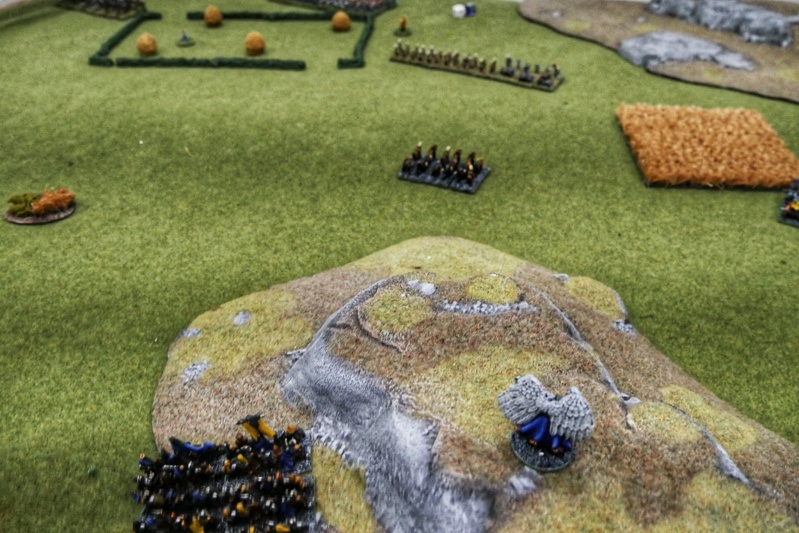
Somwwhere in the north of the Empire a battlefield with fields, woods, hills, a small village and some ancient chaos ruins.


Then, following a dice roll I set up the Chaos forces with a mind to having a "refused" left flank and the Knights and Chariots deployed to crush from the right.


Chaos Turn One
A failed order from the hero saw the knights amble forward a short distance.
The Sorcerer managed to order the Maraduers forward and then give the hounds two orders to move out in front. The general then managed to move the warriors up but failed as he tried to order the Marauder horse.


Empire Turn One
In response the Empire General went forst (I'd positioned things badly) ordering the knights forward twice.
Then he ordered the big infantry regiment to advance a little.
First the hero and then the wizard failed orders on the right flank meaning both pistoliers and the other brigade of missile troops shuffled forward.

Chaos Turn Two
The Sorcerer ordered the Marauder horse to move to protect the left flank.
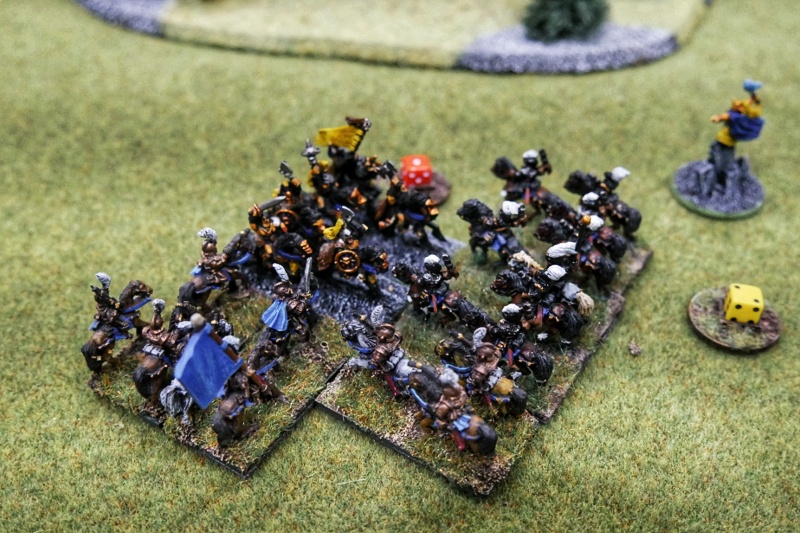
Then the hero ordered the chariots forward and to charge the infantry block.
He then repeated the feat with the knights who caught their opponents in the open.
The general pushed the dogs forward to take the missile fire and sacrificially protect the Marauder Horse.
He then pushed the Marauders up behind the hill and the warriors forward.


The hero joined the knights in combat


Empire Turn Two
The Hlaberdiers used initiative to charge the chariots who had failed to get far enough away.


The general however managed to order more halberdiers up in support of the unit fighting the chariots before successfully ordering the unengaged Knights of Sigmar's Blood to move behind the village in reserve.
The Wizard moved to successfully cast Weird Enchantment on the chariots, but a dispel scroll saw that off.
The Empire artillery and crossbows took aim at the hounds.

The Knight fight saw both sides hand out a truckload of hits in the first round, but the second round ended in stalemate with both sides pulling back.
Each side lost a unit of knights.


Chaos Turn Three
One unit of chariots evaded.

.jpeg)
Then the hero failed to order the warriors up in support and the general failed to move the last stand of dogs to protect the Marauder horse. A fickle turn for the followers of Tzeentch.


.jpeg)
Empire Turn Three
The Knights of Sigmar's Blood used initiative to charge the warriors in the flank.
The White Wolves initiative charge the remaining knight stand.
Over on the flank the hero finally got it together to order the pistoliers to charge the Marauder horse.
Then followed up by ordering the brigade to line the hedges.
The Wizard then ordered the artillery to face toward the Chaos warriors and then used the crossbows to screen the closer dogs.
He then failed to cast Weird Enchantment.

The cannon drive back the warriors and confuse them.


Chaos Turn Four
Desperately the Chaos general tries to order the remaining chariot, but he fails.
The Sorcerer tries to cast Anger of the Gods, but Tzeentch has deserted them..
And so the Empire knights wipe out the last remaining warrior stand


This was very jolly. There's enough "friction" caused by the ordering mechanism to make Warmaster an interesting solo challenge. I felt the core principles of the rules coming back and was considering which attacks to make to wipe out units and head things toward break point.
Could do with a live opponent soon though!
No comments:
Post a Comment