As I've been "speed painting" some Warmaster Vampire Counts models I thought I might do a step by step to show the process I go through.
This is intended to be a way of getting units painted quickly but effectively. It's not how I paint *all* my Warmaster armies, or even all the units in this army but it is pretty quick and looks good at a tabletop distance. With a horde type army like the Vampire Counts a speed painting aproach may be what you need to get it finished.
I'll be using Fell Bats models, sculpted by Forest Dragon and available from White Dragon Miniatures.
So first, clean up the models and then glue both strips, yes, that's right both strips on to the base.


Next, apply sand.


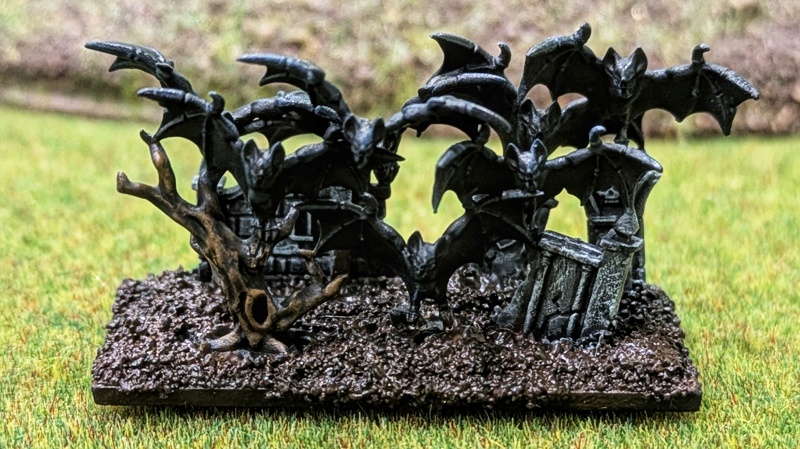
Then spray black.


Then paint the base brown.


You could try and do this at the end, but then you risk getting the basing colour on the bits you've painted - so best done first.


Then paint the metal railings bits - I used Leadbelcher I think.

Next up apply a mid grey in an overbrushing style on the stonework (more OOP Paint - Adeptus Battle Grey)


Paint the tree stumps with browns

Then, to finish cover the whole lot (apart from the base), with a black wash (Nuln Oil)

Then drybrush the base to taste (I used Vomit Brown followed by a Bone colour)


Thats a lot of Bats! Nicely done :-)
ReplyDelete