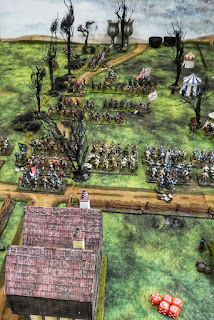
Chastened by his defeat on Thatchyres Motte Lord Kerbye sends for reinforcements and supplies to build up his forces to again attack Ballroom. As the column of wagons and their guards makes their way up the Sherwyde valley the cunning Lord Ballroom has laid a trap...
And so to the third game of our campaign. This time ate decreed we would both have 24 point forces and that I would be trying to get wagons from one corner of the board to another. As luck would have it this force had some less well armed and trained men in it, along with some Biddowers and so I had sufficient forces to both move the wagons and have some free ranging troops.
My initial deployment left no room for my leader. A grave mistake as I was unable to motivate troops or re-roll failed orders or the first couple of turns!
The skirmishers set of with gusto as well as one cart, but the others were lagging!
Eventually my Leader arrived and began to get things moving.
Unfortunately Lord Ballroom had taken cavalry for this game - I was concerned about their mobility and hitting power.
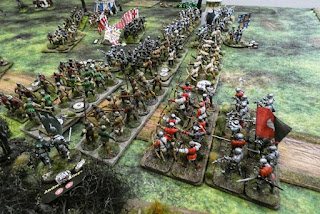
Command rolls did not always favour Ballroom's men either but eventually a fearsome archer roadblock appeared.
The Ballroom billmen milled about a bit.
My skirmishing archers had secured the woods while the rest of the column trudged onwards.
My wagons were well protected.
However now my men caught site of the waiting foe.
The skirmishers kept pace with the column.
Ballrooms cavalry tracked the wagons but stayed out of bow range.
Close the column inched to the village of Sherwyd.
With the enemy sighted the column halted and began to fan out.
Still the skirmisher crept on.
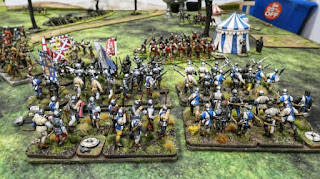
A Lancastrian Stand-off. Just like a Mexican one but with fewer sombreros.
Something of an impasse as neither of us wished to risk exposure to the inevitable arrow storm.
My leader began to lead his bill toward the flank.
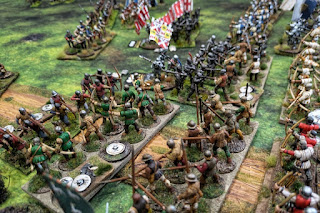
The skirmishers began to harass the Ballroom bill.
Leading them a merry dance in the wood.
Still the Ballroom bow waited.
Finally I decided to take one wagon off toward a flank.
As the skirmishers continued to skirmish.
Ballroom held back his cavalry to exploit and weakness the archers could create.
On the left my bill are screened by the woods.
Finally Ballroom closes the gap and arrows begin to fly.
One of my wagons is battered and driven back.
However Ballroom feels the cost on his own force.
The bill are using the woods for cover.
But the skirmishers have found a way to attack.
But daren't come too close for ear of attracting enemy arrows.
My battered wagon had retreated out of range and, helping themselves to the contents of their cargo, refreshed themselves for battle.
However Ballrooms archers were also now in range of my other unit and they too poured arrows on to Ballrooms men. They retreated, wavered and then broke and fled the field.
Finally my bill managed to contact the remaining enemy archers
With both sets of enemy archers now routed I could at last advance the wagons.
In a desperate last ditch attack the Ballroom knights (or, in fact Knight singular by this stage) charged home.
However the spears of my men were a match for steel armour and the knight was pulled from his saddle and slain!
Victory for Lord Kerbye!
A great game that was surprisingly tense. Interesting to see that a few games played and a campaign background means were altogether cagier and thinking more tactically than simply Chaaarge!


